
Windows 365 Provisioning

Gonzalo Sánchez de Eguilior | 29 de July de 2024 | 0 comments
Table of Contents
In this part of the guide, we will take a moment to review the different configurations available for provisioning our Windows 365.

How to Prepare Windows 365 Provisioning
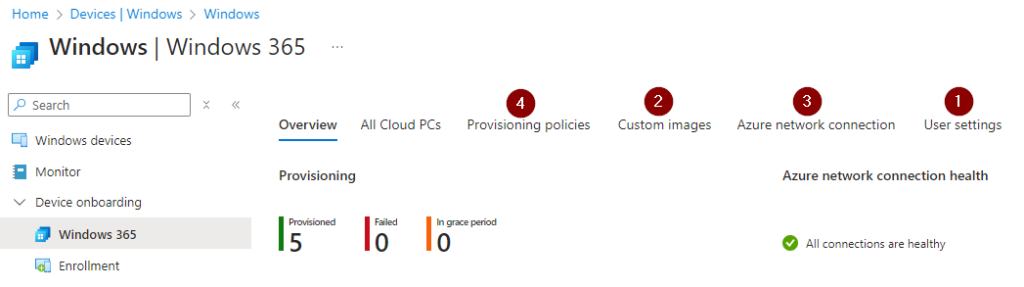
To prepare Windows 365 provisioning, we need to define a series of parameters to initially configure our new Cloud PC. These configurations are divided into 4 main groups.
To access the view of our devices in Windows 365, we must go through the device view within Intune: Windows – Microsoft Intune admin center.
User Settings

- Administrator permissions for the user: We recommend that users are not administrators of their devices. Instead, it is advisable to use tools to manage the local administrator password, such as LAPS or CLAPS.
- Allow the possibility for the user to factory reset their own Cloud PC.
- Configuration of Cloud PC restore points: We have up to 10 stored backups of the Cloud PC. If we choose to make a copy every 4 hours, we will have a maximum of 40 hours to restore our cloud desktop. If we choose to make a copy every 24 hours, we will be able to restore a Cloud PC backup from the last 10 days. We recommend configuring this based on the criticality of the stored data. For example, if users typically work with documents in OneDrive, we can increase the interval between snapshots.
- Allow the user to perform the restoration of their own snapshot.
Custom Images

- Create custom images: We can create Windows images tailored for users with specific roles. To do this, we must follow the usual process for generating images in Azure: this essentially involves setting up a VM in Azure using the Windows 365 image provided by Microsoft, applying the necessary software modifications and OS configurations, and finishing by running sysprep before shutting down the virtual machine. Once in this state, we can capture the image to use it as a custom image for future Cloud PCs that we provision.
Azure Network Connection

- In this section we can define the VNET and the subnet where we want to host our Windows 365 Enterprise Cloud PC within our Azure subscription. This option is only available for the W365 Enterprise license, and in this case, we will be charged for the outbound traffic consumed in Azure. If we publish our Cloud PC in the Microsoft datacenter, the traffic is already included in the license price (within certain limits).
Provisioning Policies

- In this policy we define whether the license to be used is per user or a Frontline license that can be used by several users, but only one concurrent session is allowed.
- Here is where we define whether the device will be joined to Microsoft Entra or hybrid Microsoft Entra.
- From the previous section, we also have the possibility of using one of the Azure Network Connections we have defined in our Azure subscription, or of hosting our Cloud PC in the Microsoft datacenter.

- In the next window, we can choose whether to use the Windows image provided by Microsoft or a custom image we have prepared and want to use for this provisioning profile.

- In the configuration section, we can choose the default operating system language and region, define the device name format, and decide whether to enroll this Cloud PC directly in Windows Autopatch.
Provisioning Time
Once the policy is assigned, it is necessary to wait for our Cloud PCs to be provisioned correctly. Now is the time to step away from the computer and make yourself a coffee so you’re ready once you see that your Cloud PC is available. This process may take around 20–30 minutes, and we can see its status from the ‘All Cloud PCs’ view.

Did you find this interesting? Share it!

Hi! I'm Gonzalo Sánchez :)
I’m an expert in Microsoft’s Modern Workplace area, and I love working with new technologies.
Learn more about me